We all love relaxing at spa salons while professionals do our pedicure. However there are times when we can’t afford it or even if we can we don’t have that much time. So we end up doing our pedicure at home. DIY pedicure does not always lead to the desired effects as it requires some knowledge on the topic and some skills. Considering that we decided to present some pro tips for a DIY at home pedicure. So here’s what we’ve got for you!

Prevent Discoloration
One of the most common mistakes that we all tend to make is leaving the nail polish on for a very long time. This way we don’t allow our nails to ‘’breathe’’. So the chances of getting all kind of infections are getting higher. As a result one might end up with yellow or white blotches on nail beds. Thus to avoid such situations you need to remove the nail polish more often and use a fine buffing block to smooth down the needed surface.
Always Check the Bottles
Just as in case of all kind of beauty products nail polish labels also need to be checked. The more chemicals it contains the worse side effects it will have. The best thing is that that there are actually formulas that do not contain dibutyl phthalate, toluene, and formaldehyde. Luckily there are also available formulas that do not contain formaldehyde resin and camphor either. So you can go for any of these and have guaranteed effects.
Deal with Ingrown Nails
Usually uncomfortable shoes cause this beauty and health issue. Ingrown toenails are the most painful experience that one can have. So it is very important to prevent their growth or at least treat them properly. To avoid such situations you need to always clip your nails straight and never curve them on the sides. Now if you’re suffering from ingrown toenails then the best you can do is use the pointed end of a metal nail file to push a small piece of cotton under the nail in the affected area. This will help your to deal with the pain and lift the nail up a little bit.
Now that you know the basics check out our step-by-step guide for the perfect DIY pedicure.
- First of all you need to fill a bathtub or large bowl with warm water and add a cup of powdered milk to soften your cuticles.
- Once you’ve done that soak your feet in for about 10 minutes and gently push back the cuticles using a wood stick.
- Grab a sterilized pointed metal file and start cleaning your nails.
- Use a foot grater to soften your cuticles and smooth rough areas.
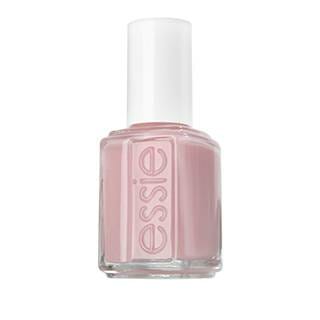
- Follow applying the base coat and two coats of any color of your preference.
Finish off with a softening cream to keep your feet smooth and well-hydrated.


